Latest Blogs & Articles
Stay updated with the latest news, tips, and insights on digital banking, international money transfers, and more.
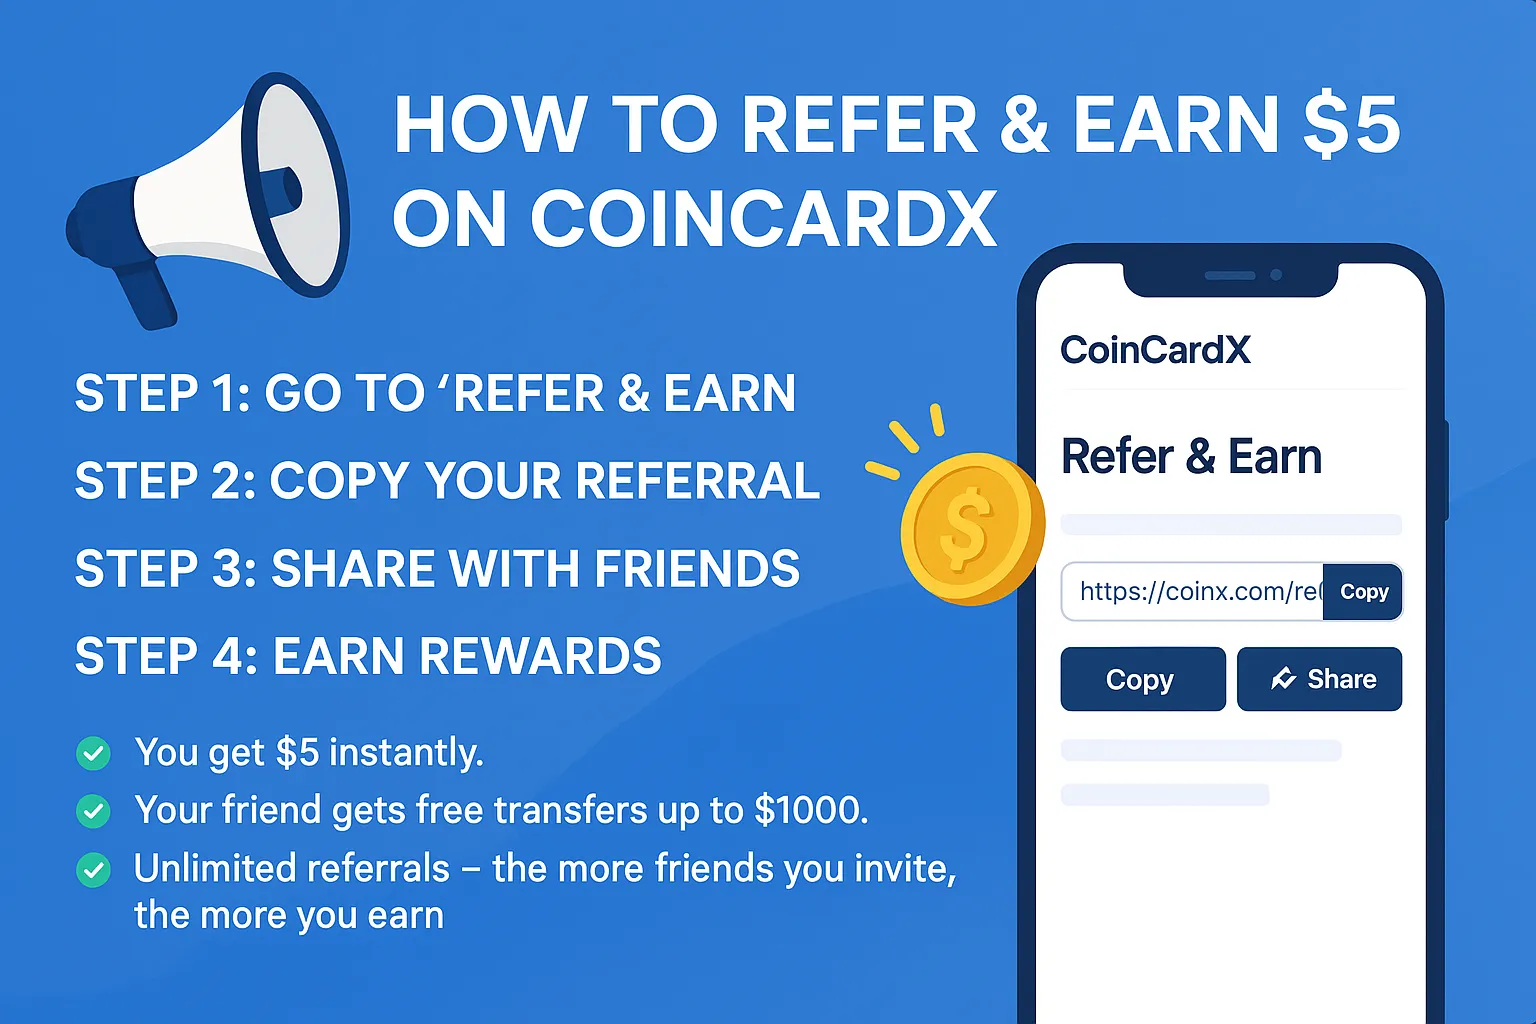

CoinCardX not only allows you to send, receive, and manage your crypto with ease but also rewards you when you invite friends. With the Refer & Earn program, you can earn $5 instantly when your friend deposits for the first time. Here’s a simple guide with screenshots.📝 Step 1: Go to "Refer & Earn" Log in to your CoinCardX account. On the top menu bar, click on More → Refer & Earn. 📸 Screenshot Example: 📝 Step 2: Copy Your Referral Link You will see your unique referral link displayed on the page. Click the Copy button to copy your referral link. You can also click Share to directly send it via social apps. 📝 Step 3: Share with Friends Send your referral link to your friends. When they sign up using your link, they will get a fee-free transfer up to $100. 📝 Step 4: Earn Rewards Once your friend makes their first deposit, you will receive $5 instantly in your CoinCardX wallet. Both you and your friend benefit from this program. 🎁 Benefits of Refer & Earn✅ You get $5 instantly. ✅ Your friend gets free transfers up to $100. ✅ Unlimited referrals – the more friends you invite, the more you earn. 🚀 Start inviting your friends today and enjoy instant rewards with CoinCardX!
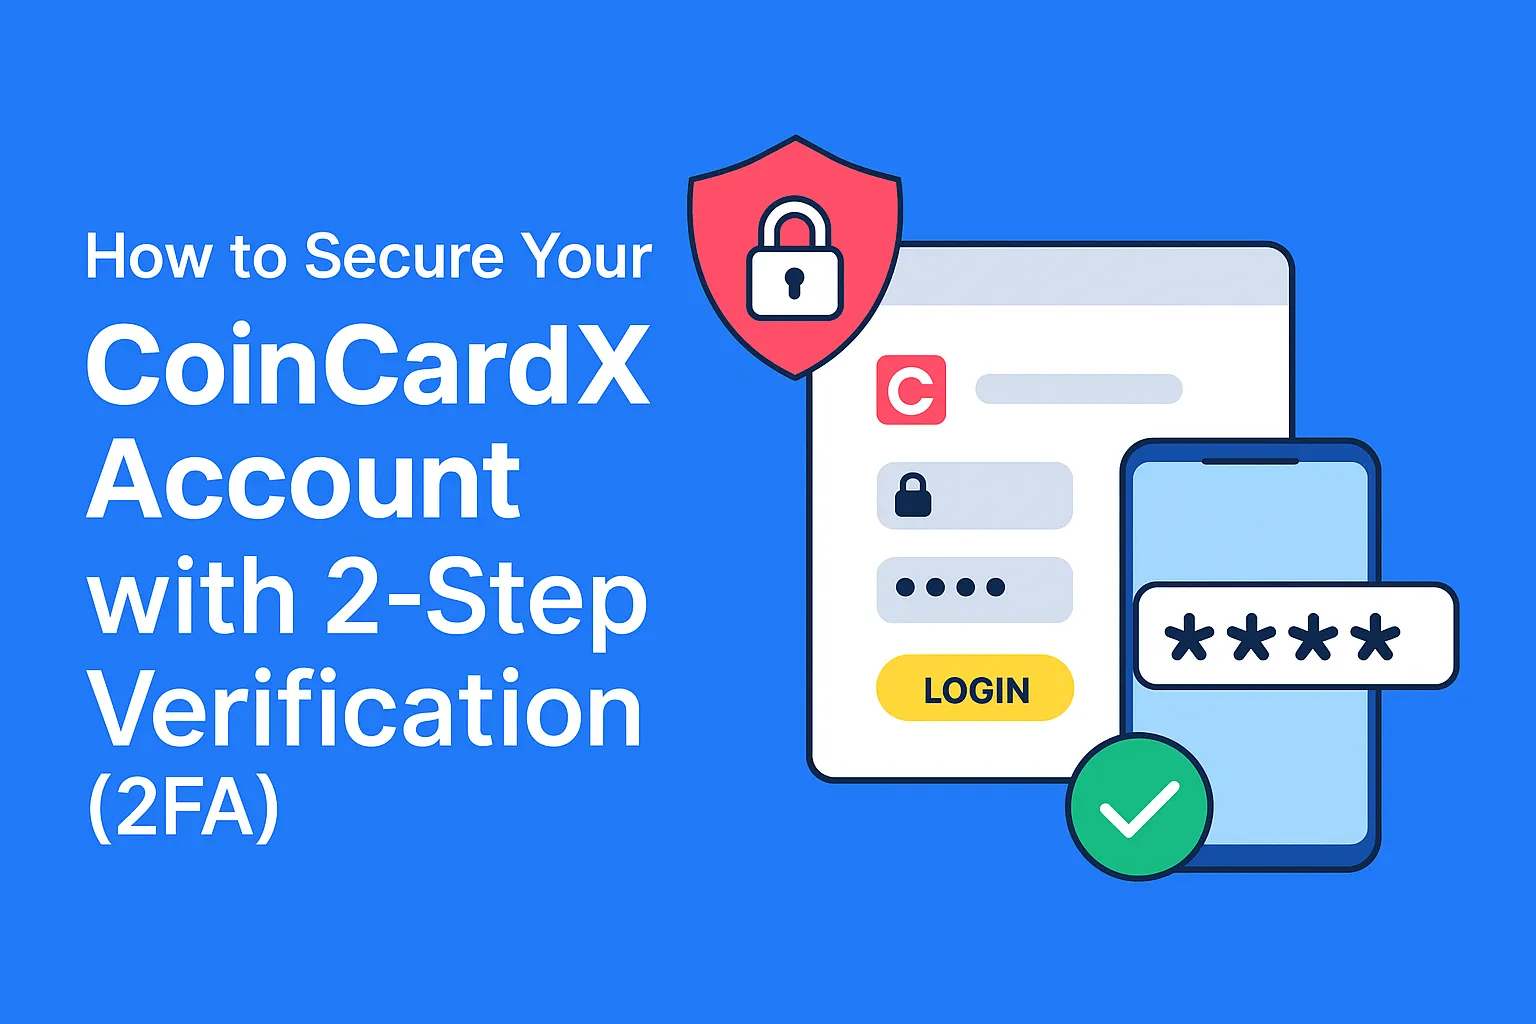

In today’s digital world, securing your cryptocurrency and financial accounts is more important than ever. At CoinCardX, we take your security seriously. That’s why we provide Two-Step Verification (2FA) — an extra layer of protection that ensures only you can access your account, even if someone knows your password.What is 2-Step Verification?Two-Step Verification (also known as 2FA) adds an additional login step beyond just your username and password. With 2FA enabled, you’ll need: Your password (something you know) A time-based code generated on your mobile device (something you have) This makes it significantly harder for hackers to access your account, even if they’ve obtained your password.How CoinCardX Uses Google AuthenticatorCoinCardX integrates with Google Authenticator, a trusted app that generates time-sensitive codes on your mobile device. Each time you log in, you’ll be asked to enter a unique 6-digit code from the app — ensuring it’s really you.Steps to Enable 2FA on CoinCardX: Go to Settings From your dashboard, click More > Settings. Select Change 2-Step Verification Settings. Scan the QR Code Open the Google Authenticator app on your phone. Tap the “+” button and scan the QR code shown on your CoinCardX account. Alternatively, you can manually enter the secret code displayed. Enable Two-Factor Authentication Enter the 6-digit code generated in Google Authenticator. Click Enable Two Factor Authenticator. That’s it — your account is now protected with 2FA!Why 2FA is Essential 🔐 Stronger Security: Protects against phishing, stolen passwords, and brute-force attacks. 📱 Easy to Use: Codes refresh every 30 seconds automatically in the app. 🌍 Industry Standard: Google Authenticator is trusted worldwide for online banking, crypto, and payment platforms. Final ThoughtsAt CoinCardX, we’re committed to making crypto payments and card transactions safe and seamless. Enabling 2FA takes just a few minutes, but it dramatically improves your account security.👉 If you haven’t set up your Two-Step Verification, head over to your settings today and secure your CoinCardX account!✅ Suggested SEO Keywords: CoinCardX 2FA CoinCardX security Google Authenticator crypto How to enable 2-step verification CoinCardX Secure crypto payments Would you like me to also prepare a step-by-step infographic style blog (with visuals/screenshots) so the article is more engaging and user-friendly?
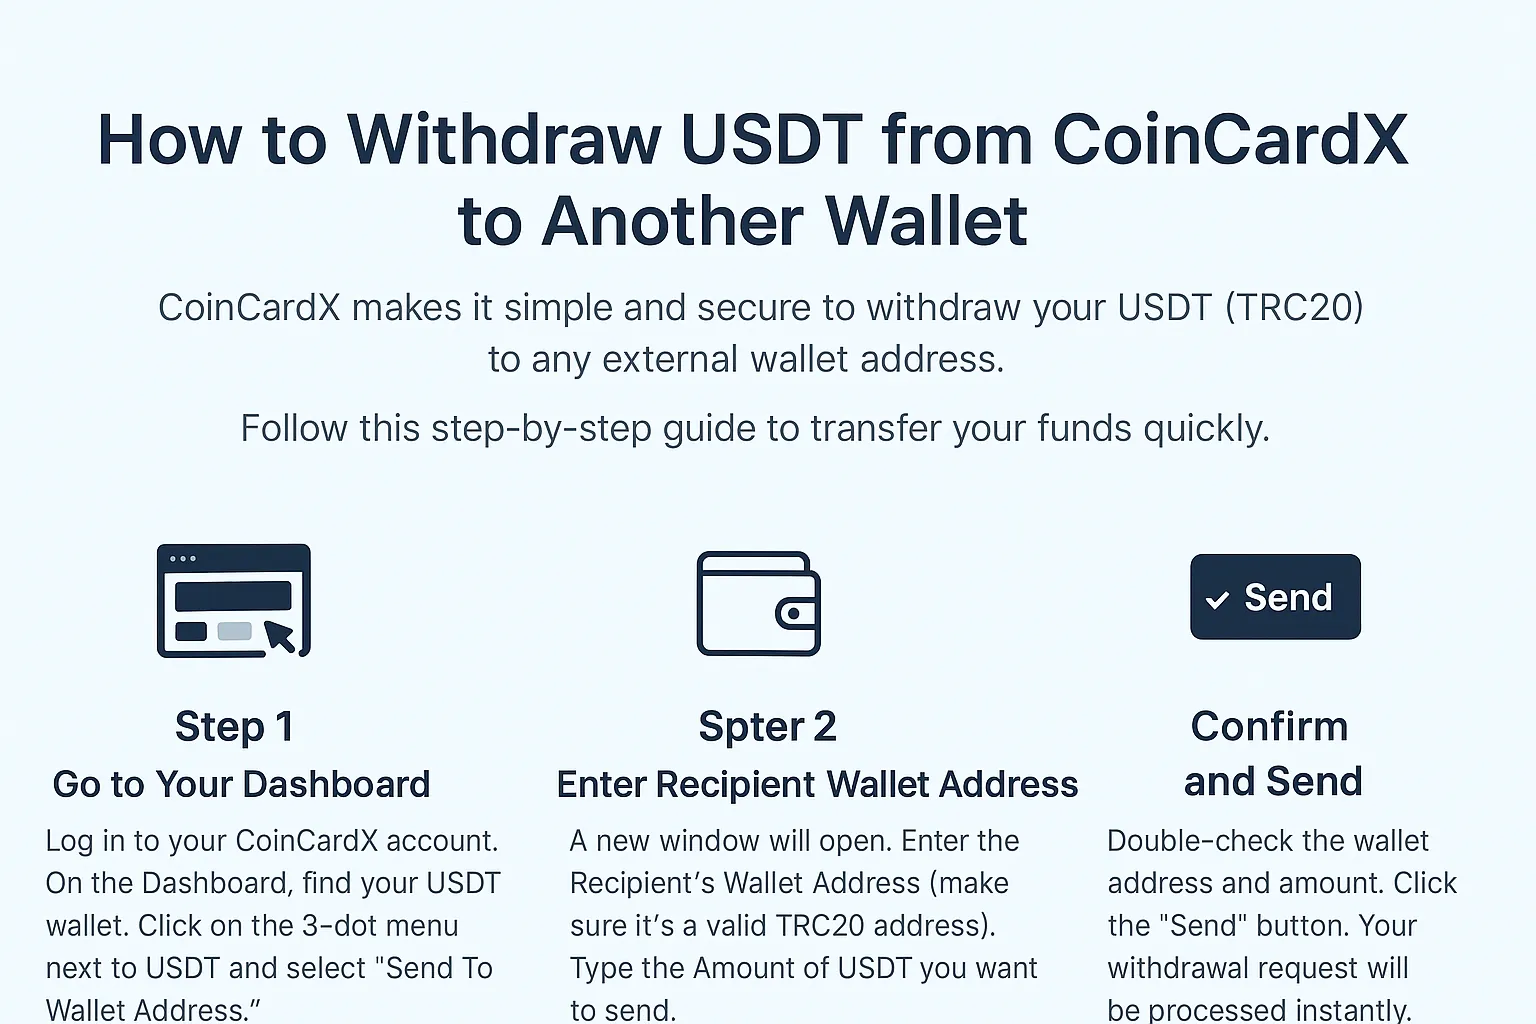

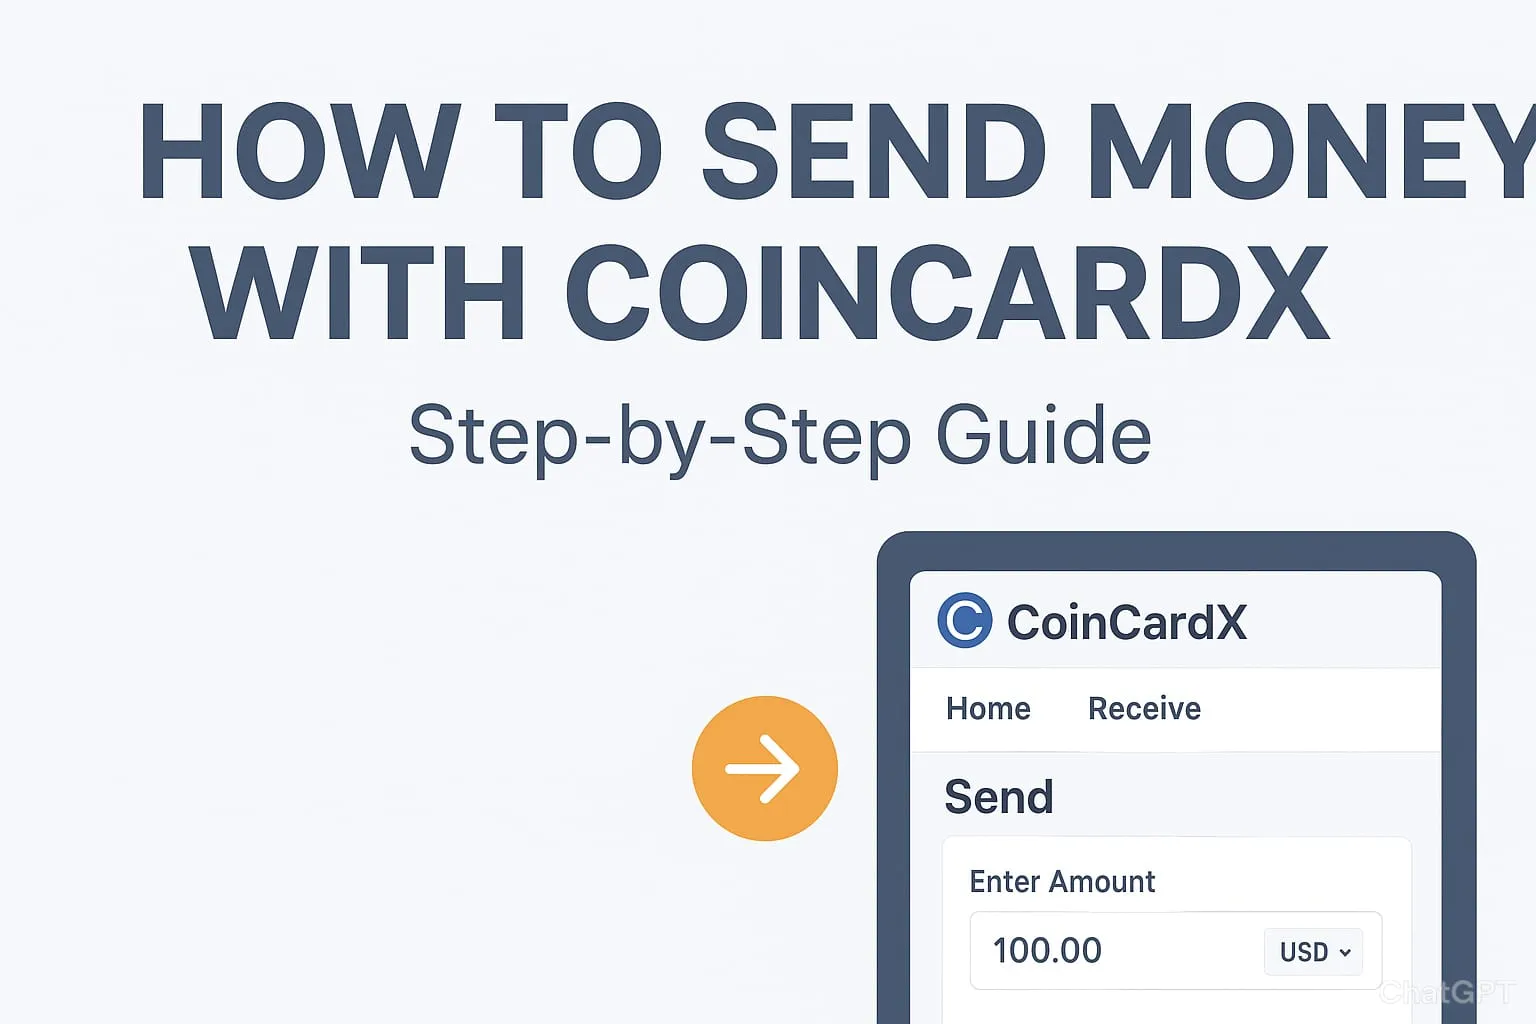
CoinCardX makes it simple and secure to withdraw your USDT (TRC20) to any external wallet address. Follow this step-by-step guide to transfer your funds quickly.Step 1: Go to Your Dashboard Log in to your CoinCardX account. On the Dashboard, find your USDT wallet. Click on the 3-dot menu next to USDT and select “Send To Wallet Address.” 📸 Step 2: Enter Recipient Wallet Address A new window will open. Enter the Recipient’s Wallet Address (make sure it’s a valid TRC20 address). Type the Amount of USDT you want to send. 📸 Step 3: Confirm and Send Double-check the wallet address and amount. Click the “Send” button. Your withdrawal request will be processed instantly. ✅ That’s it! Your USDT will be successfully transferred to the external wallet.Important Notes Ensure the recipient’s wallet supports USDT TRC20. Sending to the wrong address may result in loss of funds. Always confirm transaction details before hitting Send. Why Withdraw USDT with CoinCardX? Instant transfers Secure TRC20 blockchain Low transaction fees Easy-to-use interface 🔑 CoinCardX makes crypto transfers as simple as sending an email. Start using it today for fast and reliable money transfers worldwide.
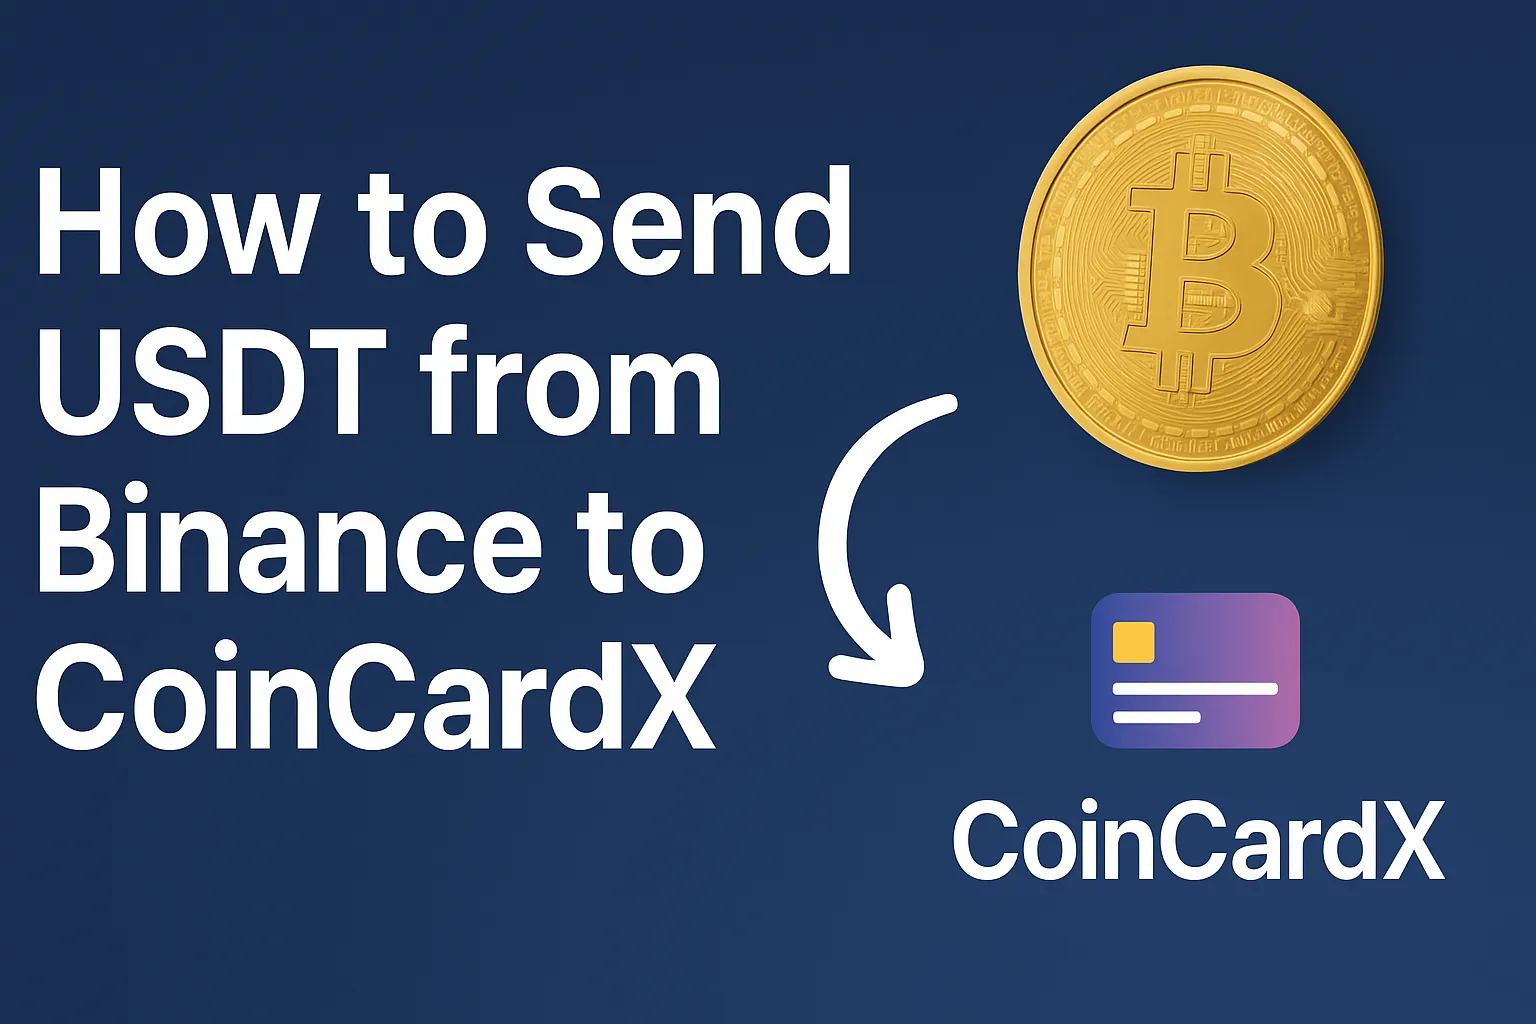

Managing your crypto funds has never been easier with CoinCardX, a platform that allows you to load virtual cards, transfer money, and fund wallets using cryptocurrency. One of the most common needs for users is learning how to send or load USDT (Tether) from Binance to CoinCardX safely and with 0% transaction fees.In this step-by-step guide, we’ll show you the exact process with screenshots.Step 1: Log in to CoinCardX Visit CoinCardX.com and log in to your account. Once inside, go to the Dashboard → Wallet Section. Copy your USDT (Tether) Deposit Address provided by CoinCardX. 📸 Screenshot 1 – CoinCardX Dashboard with Wallet AddressStep 2: Open Binance and Select Withdraw Log in to your Binance account. From the main menu, go to Wallet → Fiat & Spot. Click Withdraw. 📸 Screenshot 2 – Binance Withdraw OptionStep 3: Enter Withdrawal Details On the Binance withdrawal page: Select USDT as the coin. Paste the CoinCardX USDT Deposit Address you copied earlier. Choose the TRC20 Network (for faster and cheaper transactions). Enter the amount you want to send. 📸 Screenshot 3 – Binance Withdrawal FormStep 4: Confirm and Send Double-check the details: Coin: USDT Network: TRC20 Recipient: CoinCardX wallet address Confirm the transaction. Binance may ask for 2FA verification (Google Authenticator or SMS).Step 5: Check Your Balance in CoinCardX Within a few minutes, your USDT balance will appear in your CoinCardX dashboard. You can now use it to load your virtual card, make payments, or transfer funds. 📸 Screenshot 4 – CoinCardX Updated BalanceWhy Use CoinCardX for USDT? 0% Fee: Enjoy zero-fee transfers from Binance. Instant Processing: Funds appear quickly in your account. Secure: Your deposits are protected with enterprise-grade security. Flexible Use: Load your CoinCardX virtual card, shop online, or transfer money globally. Final ThoughtsSending USDT from Binance to CoinCardX is a simple, secure, and cost-effective way to fund your account. With this zero-fee method, you keep more of your money while enjoying all the benefits of CoinCardX. 👉 Start now at CoinCardX.com and experience seamless crypto-powered payments!


Open CoinCardX → click Get Virtual Card → go to Card → choose Virtual Card (Request) → fill the Request for Card form (KYC) → submit → your virtual card appears in Virtual Cards → load with crypto and start using it online. Why use a CoinCardX Virtual Card? Get a card in minutes—no physical card needed Load with crypto easily Use it worldwide for online payments (subscriptions, shopping, etc.) Keep your main bank details private Step 1 — Click “Get Virtual Card” from the homepage On the homepage top menu, select Get Virtual Card. Screenshot reference: homepage with a red arrow pointing to “Get Virtual Card”. What happens here: If you already have an account, sign in. New users can register in a minute—verify your email/phone to proceed. Step 2 — Open the Card tab and choose Virtual Card (Request) Inside your dashboard, go to Card. On the right, you’ll see Virtual Card – Per Card Request Charge 10 USD with a “Request for get a virtual card” option. Screenshot reference: dashboard → Card page showing “Virtual Card – Per Card Request Charge 10 USD”. What to note: The $10 shown is the one-time request fee for creating a new virtual card (as displayed on your screen). Existing cards also display here (with masked number, CVV, and balance). Step 3 — Fill the Request for Card form (KYC) You’ll see a form titled Request For Strowallet Card. Complete the required fields: Card Currency: USD (shown as selected) First Name & Last Name Email & Phone Number Date of Birth ID Card Image (KYC) — upload a clear picture of your government ID User Photo (Selfie) — for face match House Number, Address Line 1, City, State, Country, Postal Code Screenshot reference: the full KYC request form page. Tips for approval: Make sure your ID and selfie are clear, well lit, and match your details. Enter your legal name and full address exactly as on your ID. What happens after you submit? Your request is reviewed. Once approved, your Virtual Card appears under Card → Virtual Cardswith: Card number (hidden until revealed) Expiry date CVV Balance From here you can copy the card details and start using it online. How to load the card with crypto Go to Deposit in your dashboard. Choose a supported crypto method and send funds. Once confirmed, your card balance updates—ready to spend. Best practices & quick checks Use accurate KYC: mismatched info can delay approval. Keep screenshots safe: never share your full card number/CVV publicly. Start with a small top-up to test a new merchant. Subscriptions: many streaming, SaaS, and app stores work smoothly with virtual cards. FAQs Q1: Do I need KYC?Yes. The request form requires an ID card image and a user photo for verification. Q2: Which currency is supported?The form shows USD as the selected card currency. Q3: What’s the fee?The screen shows Per Card Request Charge: 10 USD. Other fees (like network/processing) may apply depending on funding/usage. Q4: How long does approval take?Typically quick after you submit clear KYC. If details are blurred or mismatched, it can take longer.

Introduction: Use Crypto for Everyday ExpensesIf you have Bitcoin, Ethereum, or USDT on Binance, KuCoin, or Coinbase, you might wonder how to spend your crypto for real-world purchases.Unfortunately, most online retailers do not accept direct crypto payments, making it difficult for users to buy products, pay subscriptions, or book services.With CoinCardX virtual credit cards, you can convert your crypto into a Visa or Mastercard balance and spend it anywhere online, just like a traditional card.Top 5 Ways to Spend Your Binance, KuCoin & Coinbase Crypto with CoinCardX1. Shop on Amazon & eBay📌 Problem: Amazon and eBay don’t accept crypto payments. ✅ Solution: Use a CoinCardX virtual credit card to buy gadgets, fashion, and electronics without needing a traditional bank card.2. Pay for Netflix, Spotify & Hulu📌 Problem: Many streaming platforms don’t support cryptocurrency. ✅ Solution: A virtual card lets you subscribe to Netflix, Disney+, Spotify, and YouTube Premium using BTC, ETH, or USDT.3. Order Food from Uber Eats & DoorDash📌 Problem: Food delivery services require debit or credit cards. ✅ Solution: Fund your CoinCardX VCC with crypto and use it for Uber Eats, DoorDash, and other food delivery services.4. Book Hotels & Flights with Expedia & Airbnb📌 Problem: Crypto travel bookings have limited options. ✅ Solution: A CoinCardX prepaid card allows you to pay for hotels, flights, and Airbnb stays globally.5. Withdraw Crypto as Cash at ATMs📌 Problem: Converting crypto to fiat can be slow and expensive. ✅ Solution: Use your CoinCardX virtual card at ATMs worldwide to withdraw local currency.How to Get a CoinCardX Virtual Credit Card?Step 1: Sign Up on CoinCardXGo to CoinCardX and create an account.Step 2: Deposit Crypto from Binance, KuCoin, or Coinbase Withdraw BTC, ETH, or USDT from your crypto exchange. Send it to your CoinCardX wallet. Step 3: Get Your Virtual Credit Card Once your deposit is processed, your virtual Visa/Mastercard is ready for use. Step 4: Start Spending OnlineUse your virtual card for shopping, subscriptions, and online services. Why CoinCardX is the Best Virtual Card Provider?✔ Works with Binance, KuCoin, Coinbase & More ✔ Fast Crypto-to-Fiat Conversion ✔ Accepted on Amazon, Netflix, Uber & More ✔ No Bank Required – 100% Crypto-Powered ✔ Secure Transactions with Full PrivacySEO Tips to Rank for Crypto Payment Blogs📌 Use Trending Keywords – Binance virtual card, Coinbase prepaid card, crypto shopping, pay with USDT. 📌 Include Headings & Lists – Improves search visibility. 📌 Link to Trusted Sources – Boosts credibility. 📌 Ensure Fast & Mobile-Friendly Pages – Helps with ranking on Google.Conclusion: Spend Crypto Anywhere with CoinCardXIf you hold Bitcoin, Ethereum, or USDT on Binance, KuCoin, or Coinbase, don’t let it sit idle. Convert it into a CoinCardX virtual credit card and shop, subscribe, and travel with ease. 🚀 Get started today at CoinCardX!


CoinCardX offers secure virtual credit cards, a reliable crypto wallet, and fast worldwide money transfers, all backed by advanced technology and exceptional customer support. We processed the card request using our financial partner, Reap.global.
